

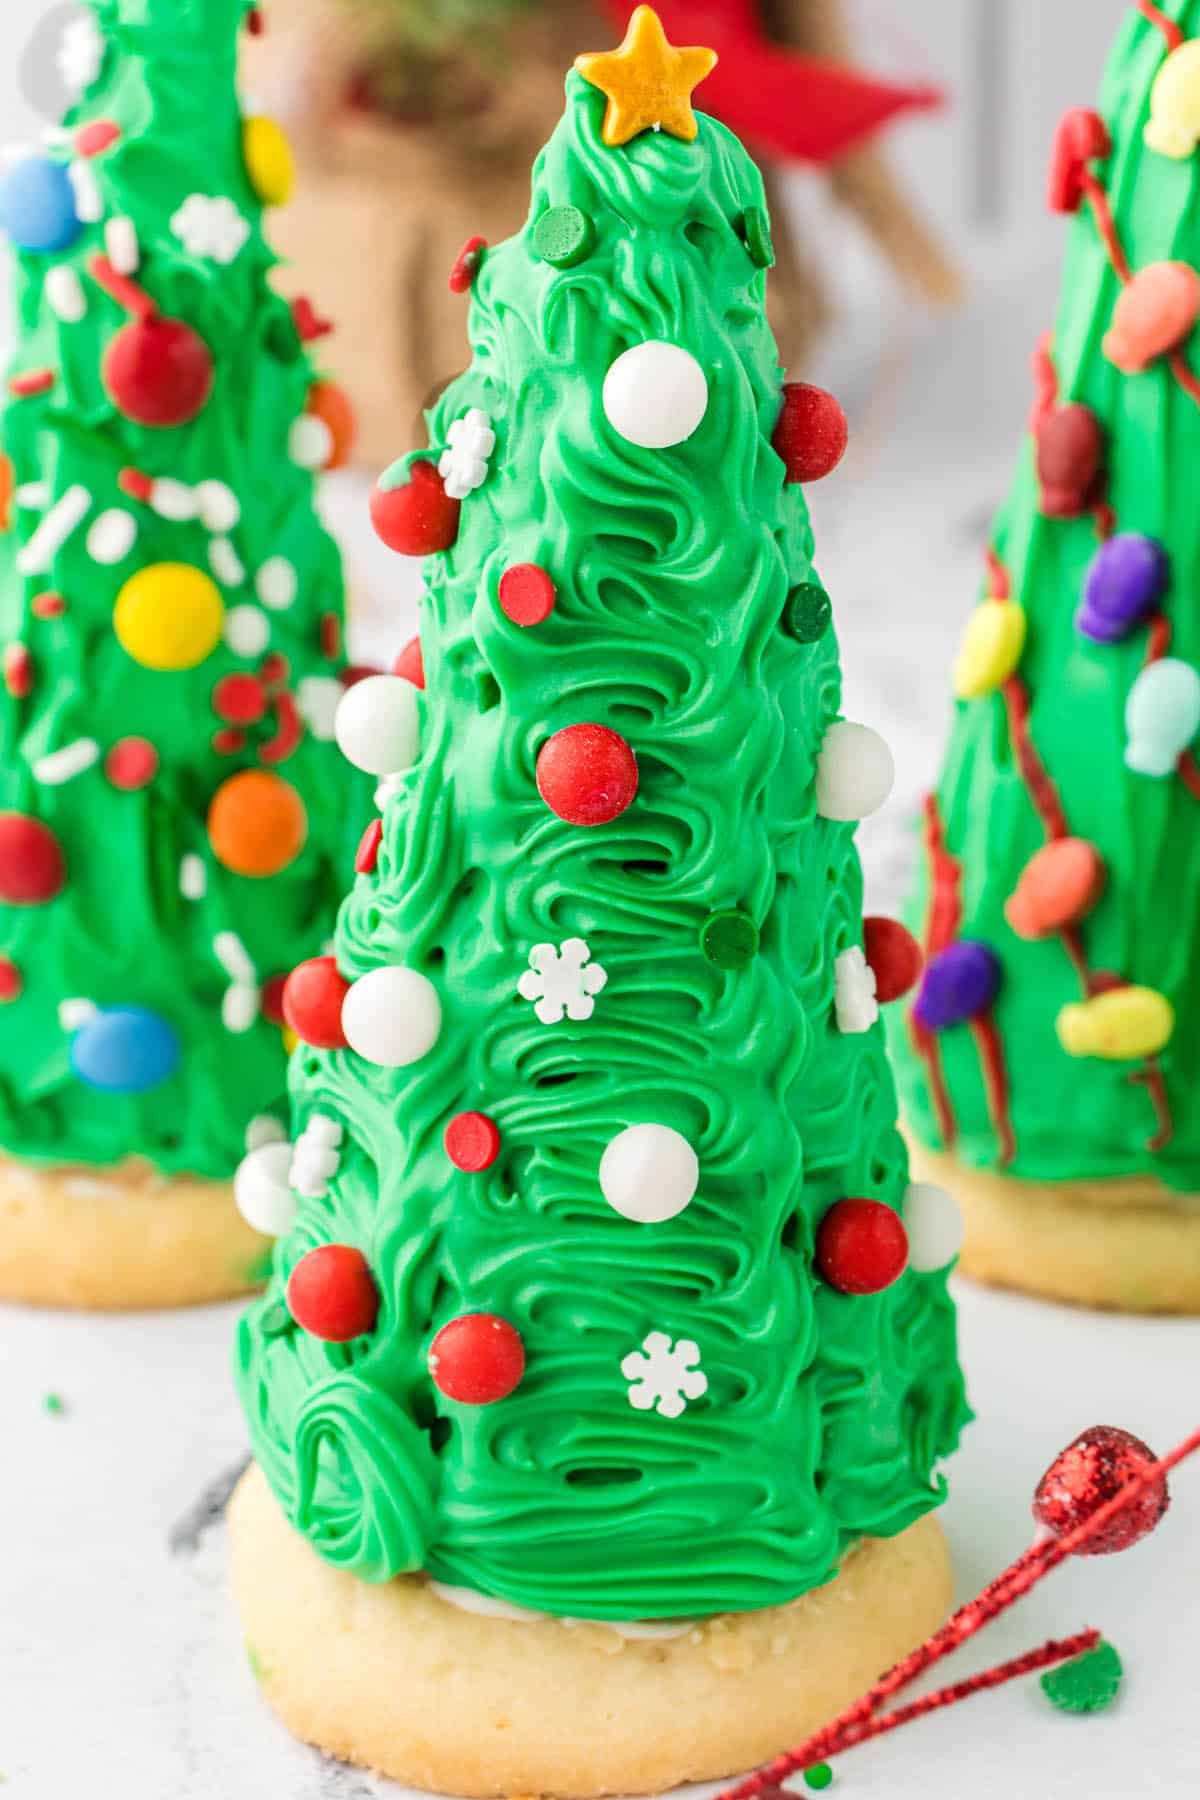
Looking for a fun, no-bake Christmas activity everyone can enjoy? These Ice Cream Cone Christmas Trees are an easy holiday treat that doubles as an edible craft! Made with sugar cones, frosting, cookies, and colorful candy decorations, they're just as much fun to decorate as they are to eat.
These are perfect for classroom parties, family gatherings, cookie exchanges, or a cozy afternoon of Christmas fun at home.
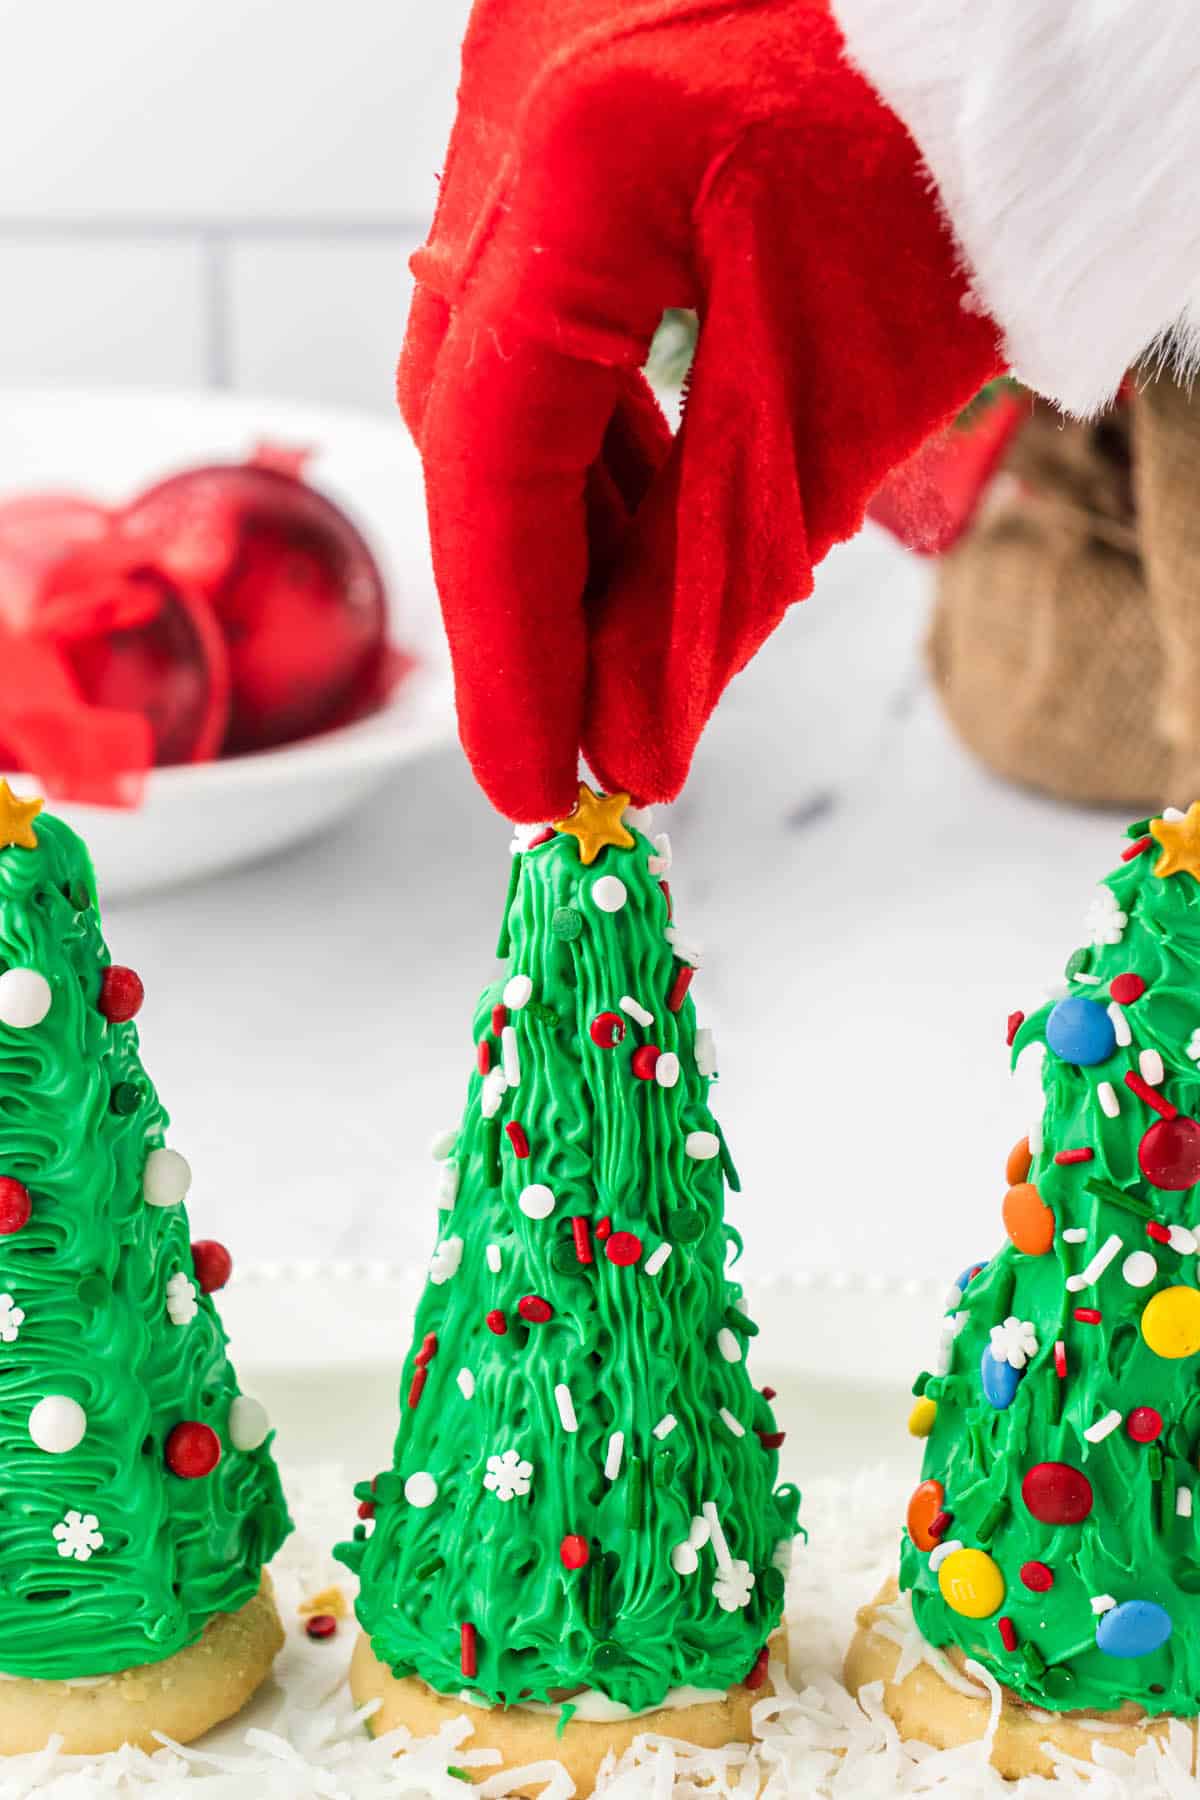
We made these Ice Cream Cone Christmas Trees with my great niece and nephew over Thanksgiving last year, and they were an instant hit! At 8 and 5 years old, they decorated almost everything on their own.
We filled each cone with mini M&M's before frosting, then turned them loose with frosting, sprinkles and candy. I'm pretty sure more decorations landed on the table (and in a few little mouths!) than on the trees, but that was half the fun.
Their proud smiles when they finished were the sweetest part of all. 🧡
Why you'll love these sugar cone Christmas trees
Christmas tree cones are a great activity to keep kids busy at holiday parties. They're also a fun, decorative dessert! You only need simple ingredients like store-bought sugar cookies and store-bought frosting make this sweet treat extra easy.
Don't worry! There's no cooking and piping skills aren't necessary with this simple recipe-all you need is a butter knife!
Watch how easy they are to make

Ice Cream Cone Christmas Trees
Ingredients
- 6 Store bought ice cream cones
- 6 Store bought sugar cookies
- 1 16-ounce can vanilla frosting
- Green Food Coloring
- Assortment of candies and Christmas-colored sprinkles
Instructions
- Add vanilla frosting to a medium-sized bowl. Mix drops of green food coloring into frosting until you have your desired green color.
- Using an offset spatula or butter knife, spread green frosting on the sugar cone. Including around the bottom edge.
- Place the sugar cone onto a round sugar cookie.* Press down, and be careful not to break the cookie or sugar cone. Allow to set for 10 minutes or freeze overnight.
- Spread green frosting onto the cone. Once the cone is covered in green frosting, have fun decorating your tree using sprinkles, M&Ms, or other edible decorations.
- Top each tree with a star sprinkle, if desired.
Notes
Nutrition
Love this recipe? Join the free membership group!
Ingredients you'll need
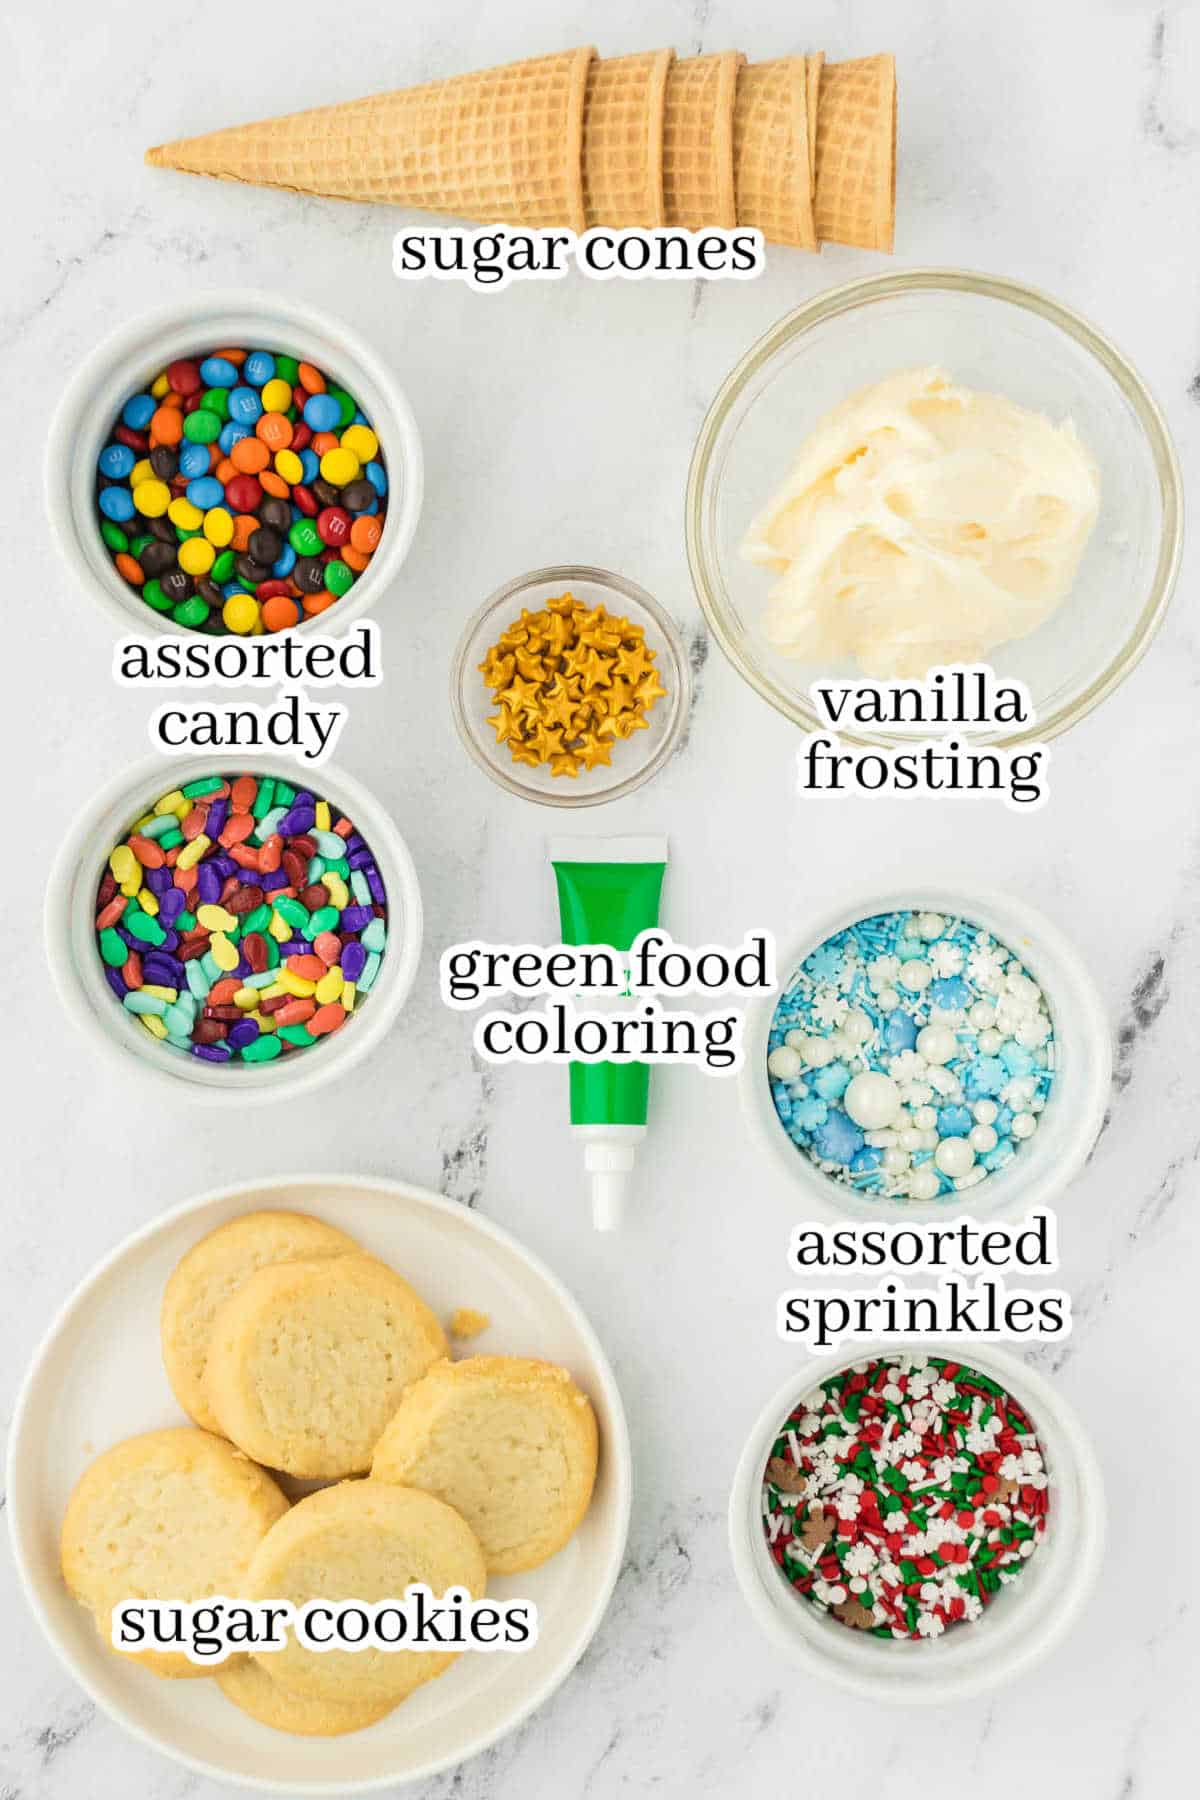
You'll find the exact ingredient amounts and complete instructions in the printable recipe card.
Ways to decorate the trees
- Create snowy trees. Dust the frosting with powdered sugar or sprinkle on shredded coconut for a fresh-from-the-North-Pole look.
- Top them with a star. Finish each tree with a star-shaped sprinkle or a small star candy for the perfect finishing touch.
- Mix up the ornaments. Mini M&M's, sprinkles, sugar pearls, mini marshmallows, crushed candy canes, gumdrops, and cinnamon candies all make adorable edible decorations.
- Hide a sweet surprise. Fill each cone with mini M&M's, Skittles, or other small candies before attaching it to the cookie base for an extra fun surprise when it's time to eat.
- Make them sparkle. Add sanding sugar or edible glitter over the frosting to give your Christmas trees a little holiday shimmer.
- Bake your own cookie base. If you'd rather make everything from scratch, use your favorite sugar cookie recipe instead of store-bought cookies.
Step-by-step instructions
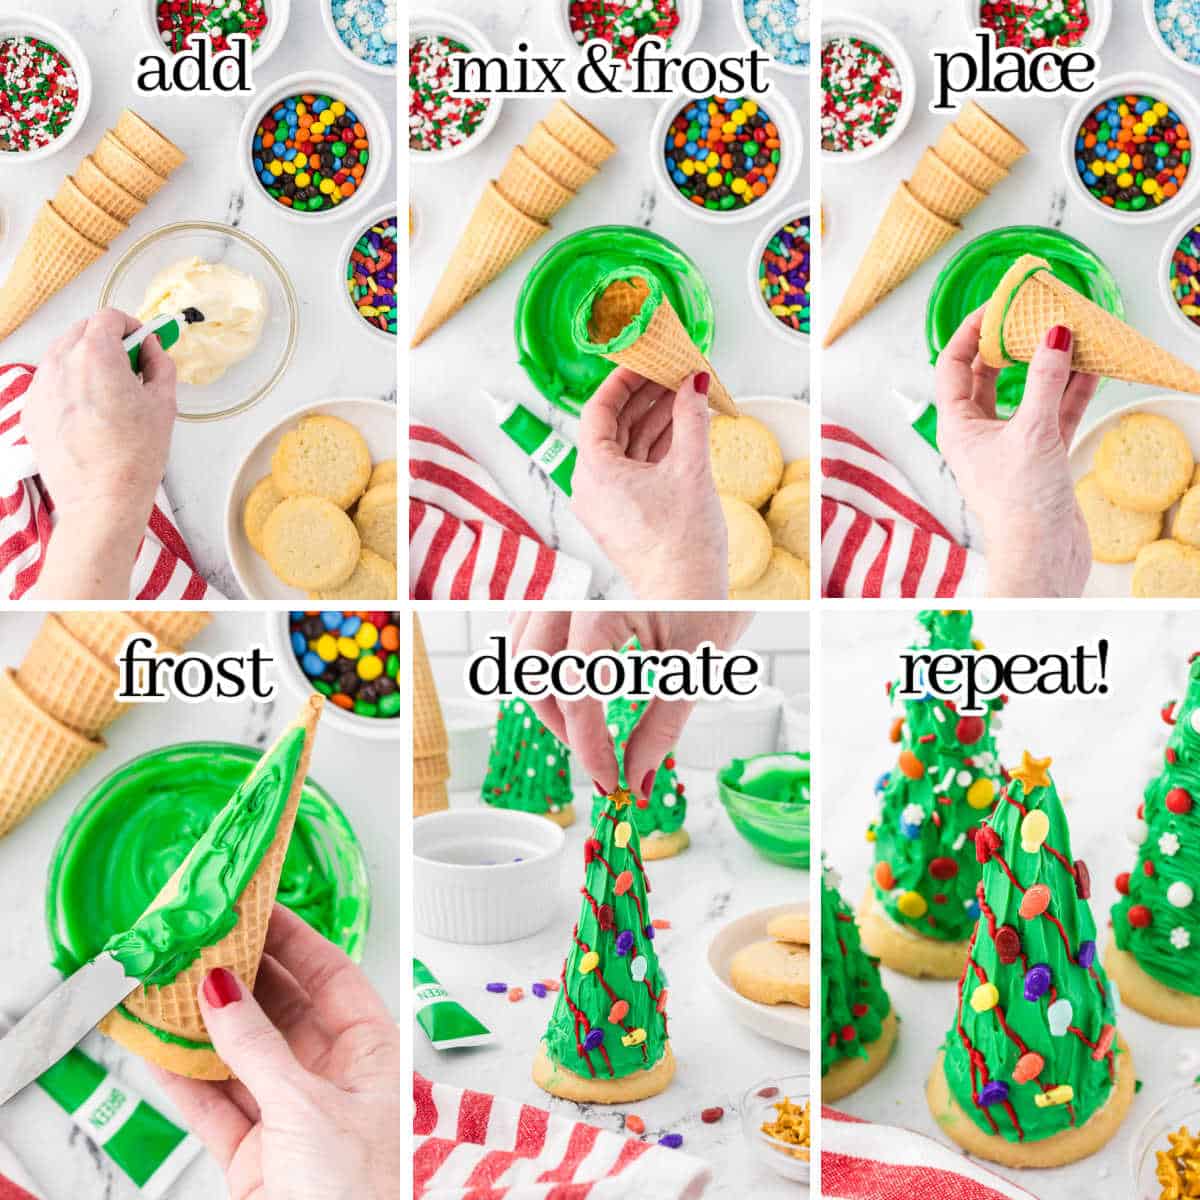
This is an overview of the instructions. For complete directions, check the recipe card.
Frequently asked questions (FAQ's)
Sure! Any other soft, flat cookies like chocolate chip cookies, oatmeal cookies, snickerdoodles, molasses cookies, and peanut butter cookies, all will work great for the base for Christmas tree ice cream cones.
Yes! You can assemble them up to 2 days in advance. Store them in a single layer in an airtight container in the refrigerator until you're ready to serve. They're a great make-ahead treat for holiday parties and cookie exchanges.
Yes! Homemade buttercream or cream cheese frosting both work beautifully. Just be sure the frosting is thick enough to hold the decorations in place and help secure the cone to the cookie.
Not at all. A butter knife or small offset spatula spreads the frosting just fine, making this an easy project for kids. If you'd like a more textured look, you can use a piping bag fitted with a star or leaf tip.
Attaching each cone to a cookie base helps keep it stable while you frost and decorate. Give the frosting about 10 minutes to set before adding the decorations.
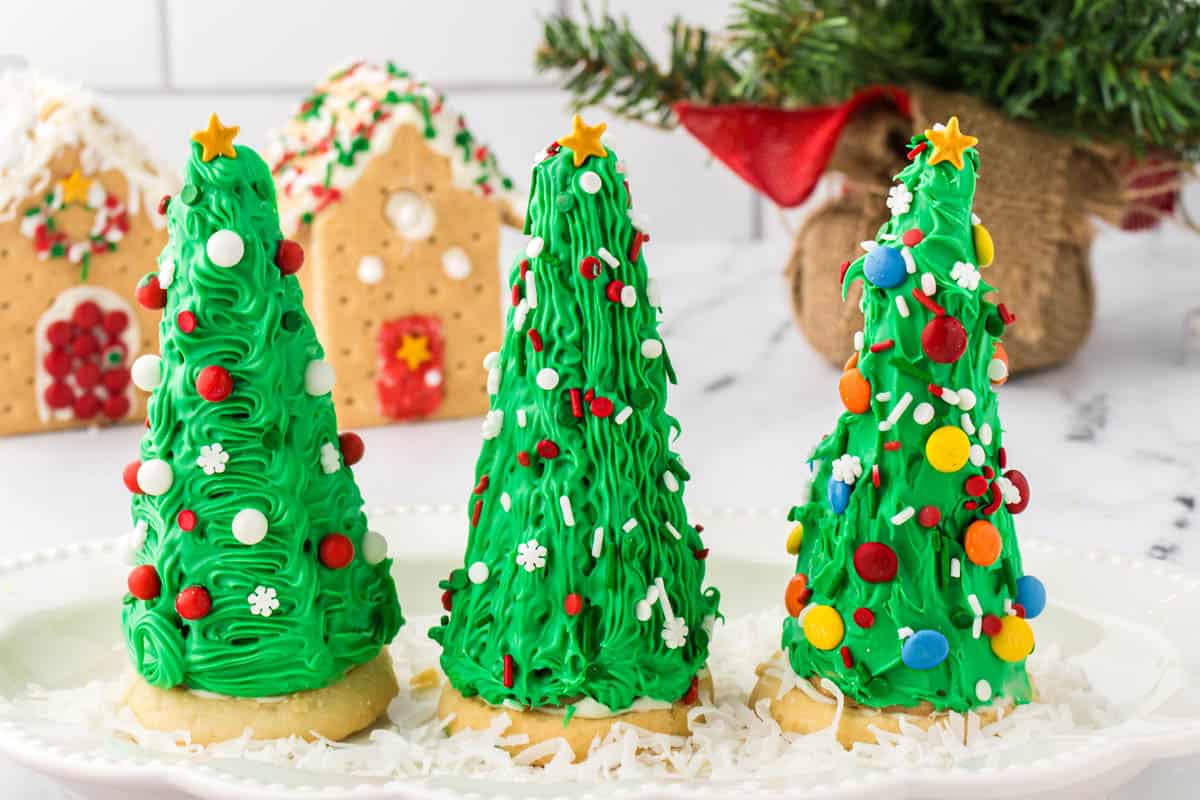
Test kitchen notes
I've found the easiest way to decorate these is to attach the cone to the cookie first and let it sit for at least 10 minutes before frosting the outside. I've even made this part in advance and frozen them. The cookie gives you a sturdy base to hold while decorating, and the frosting helps keep everything in place.
When spreading the frosting, use a light touch because sugar cones can crack if you press too hard.
I also recommend adding the green food coloring a few drops at a time until you reach your favorite shade. It's much easier to darken the frosting than it is to lighten it again.
Finally, decorate the trees on a paper plate or rimmed baking sheet so they're easy to move to your holiday table without any accidental tumbles, plus it catches any sprinkles that don't adhere to the trees.
Oh, and one more thing... wear an apron, especially when you're making these with the littles. Between the frosting and sprinkles, things can get delightfully messy!
More Christmas cookie recipes
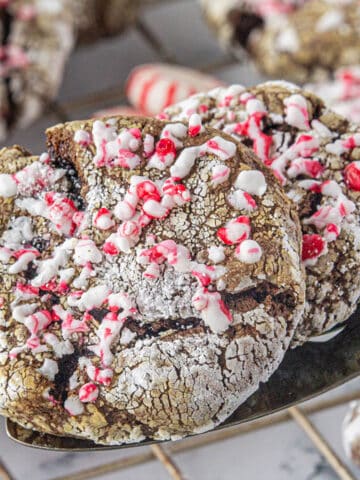
- The perfect holiday treat, Rolo Sugar Cookies are stuffed with chocolate and gooey caramel and rolled in green and red sugar crystals!
- These 4-Ingredient Peanut Butter Cookies taste like the holidays. They're crispy, rich, crazy good, and easy peasy, too.
- Pretzel M&M Hugs might be considered more of a candy than a cookie, but I'll tell ya: no one complains when they see 'em on a cookie tray!
- Perfectly crumbly and impossible to resist, Pecan Sandies always go first at holiday cookie exchanges-and these ones are no different.
- These White Chocolate Dipped Oreos are great during Christmas, but they're really fun and festive throughout the entire winter season, too!
Make these part of your holiday tradition
These Ice Cream Cone Christmas Trees are one of those simple holiday traditions that everyone remembers long after Christmas is over. Whether you're decorating them with the kids, making a batch for a classroom party, or adding them to your holiday dessert table, they're guaranteed to bring plenty of smiles.
I hope your family has as much fun making them as ours did. And when you decorate your Christmas trees, I'd love to hear how they turned out in the comments below or see your creations if you tag me on social media! 🎄
Lois Corliss says
They are so cute. It will be easy to make also. Love them.
Sherri Rochester says
Aren't these adorable??? Great project for the kiddos! Perfect excuse for playing with their food.
Bowl Me Over says
Hahaha, that's so true! Happy Holidays!
Maureen says
These trees are the best. Great idea for the kids or grandkids. Everyone can make their own unique tree. Another Christmas treat.
Thanks
Bowl Me Over says
You're so welcome Maureen, Happy Holidays!!
Michelle Gosser says
I've always thought these were just so darn cute! Another great easy recipe for the kiddos 😋
Bowl Me Over says
Most definitely Michelle, enjoy!!!
MaryB says
What a fun idea to do with little kids! So cute.
Bowl Me Over says
I hope you give them a try MaryB - have fun!
Kathleen Pohorence says
These look fun and know people will love them!!!
Bowl Me Over says
Super cute, right? Great centerpiece for your Holiday table!!
Carol says
What a great idea to do with kids!!! We make Ginger Bread House's this would be a nice addition to our display of houses!!! Thanks for this cure idea!!
Cat stevens says
Awesome looking. Will be a fun project to share with others. Our table would be gorgeous. EZ and quick.
Bowl Me Over says
Awesome!! Have fun putting these together Cat - they are so fun and festive!!
Bowl Me Over says
You're so welcome Carol! And if you like making gingerbread houses with the kids, boy have I got a fun one for you tomorrow! Stay tuned and Happy Holidays!