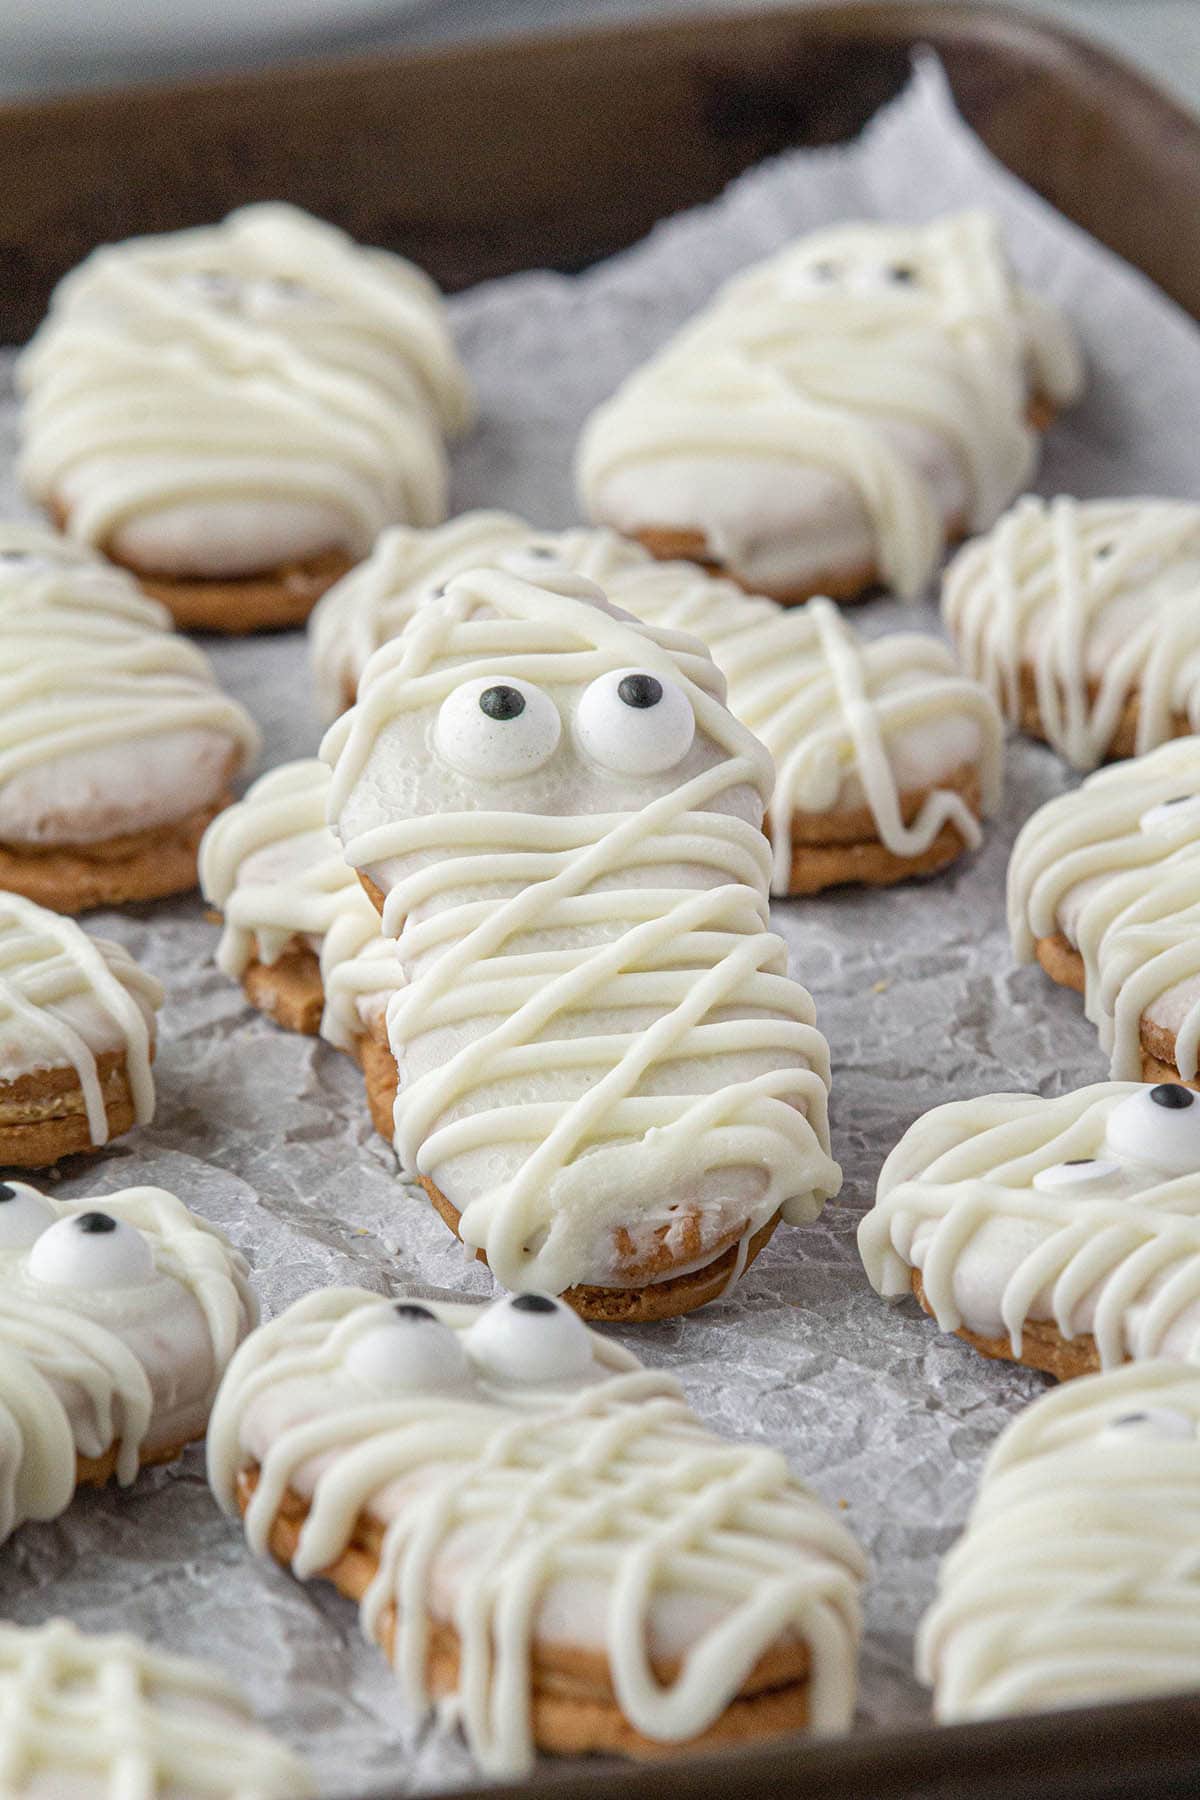
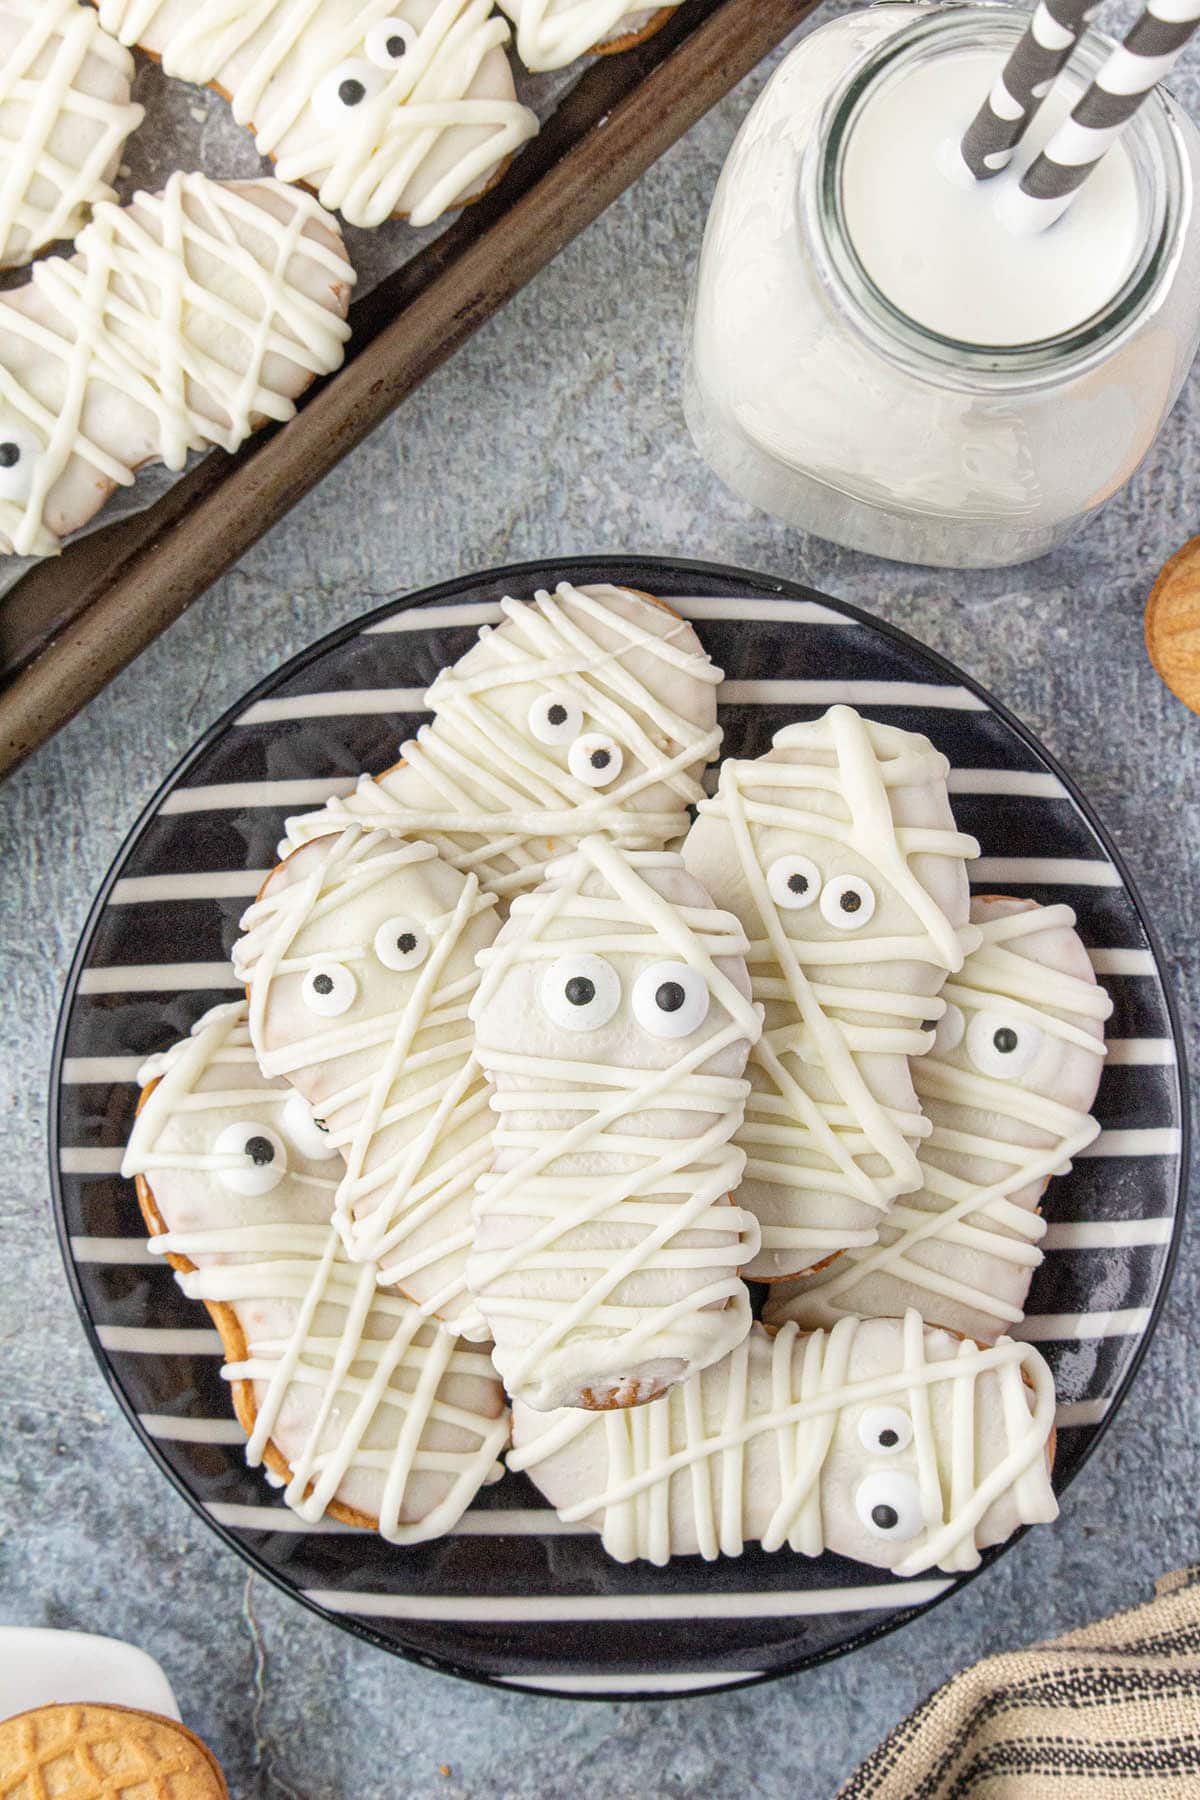
These Nutter Butter Mummies are a fun Halloween treat and so easy to make that you don't need to turn on the oven! Delicious store-bought cookies coated in smooth white chocolate and topped with candy eyes for a spooky look. You can't go wrong!
Jump to:
- Why you'll love Nutter Butter Mummy Cookies
- Ingredients you’ll need
- Creative variations to try
- Step-by-step instructions
- Essential tools for this recipe
- Frequently asked questions (FAQ’s)
- Tips for the perfect mummy cookie
- How to store mummy cookies
- More fun Halloween recipes
- Nutter Butter Mummy Cookies Recipe
Why you'll love Nutter Butter Mummy Cookies
Get ready to unwrap a cookie that's sure to please! Nutter Butter Mummies are the perfect combination of crunchy peanut butter goodness and sweet white chocolate.
With a drizzle of mummy wrapping and googly eyes, they are guaranteed to be a hit at your Halloween gettogether! Why these little cookies will have you coming back for more treats - not tricks! 👻
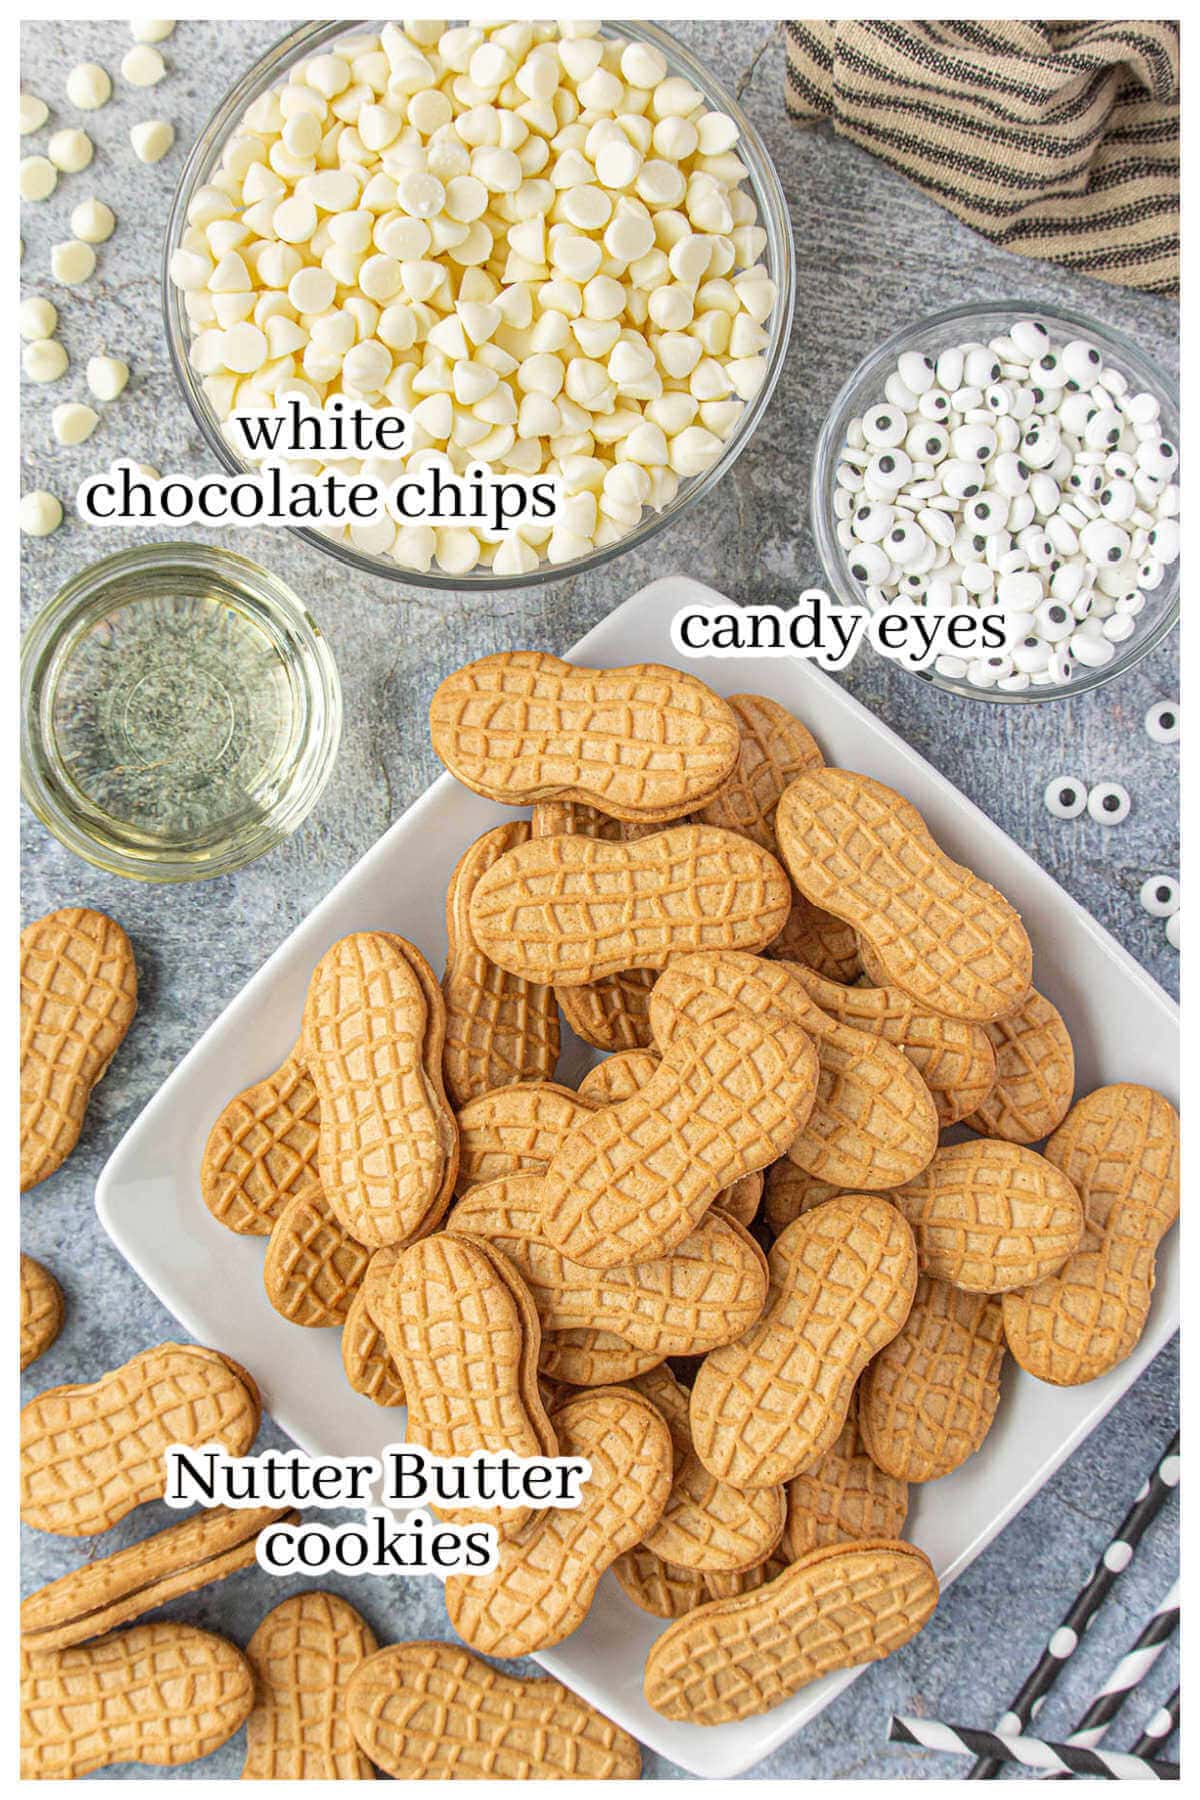
Ingredients you’ll need
Please refer to the printable recipe card at the bottom of this post for the exact measurements.
- Nutter Butter cookies
- white chocolate chips
- vegetable oil
- candy eyes
Creative variations to try
- If you don't have candy eyes on hand, you can use a black edible marker or even chocolate frosting to make eyes on these cookies. However, you will need to make sure the chocolate is hardened before you add it.
- While the chocolate is still wet, feel free to add sprinkles or other types of decorations to these mummy cookies to make them your own.
- White candy melts can be used in place of the white chocolate chips, just follow the package instructions for melting them.
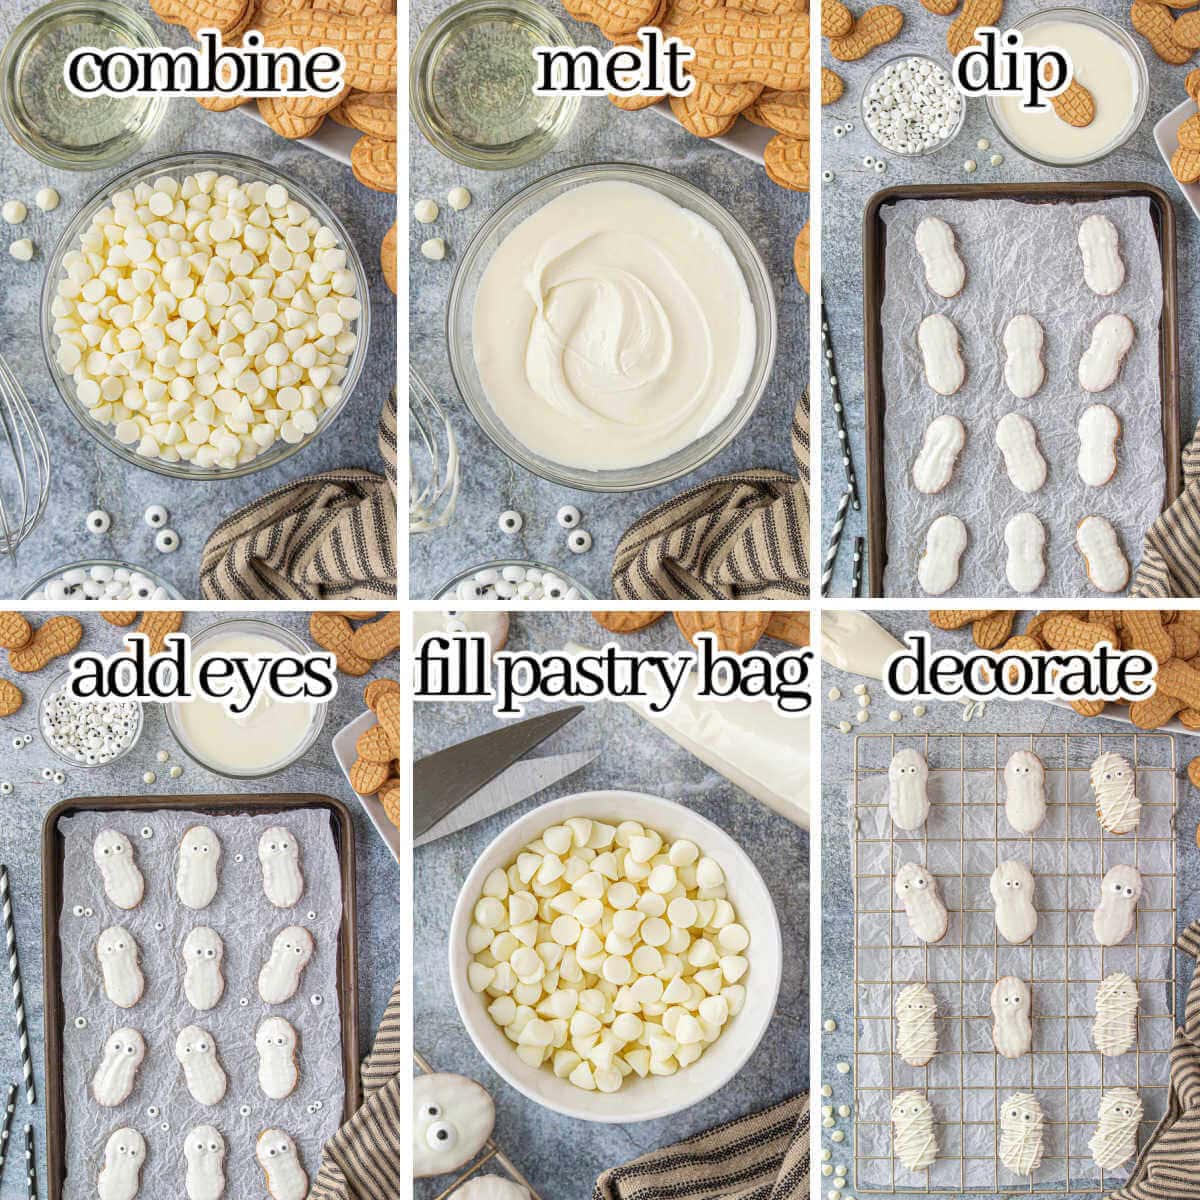
Step-by-step instructions
This is an overview of the instructions. For complete directions, scroll down to the bottom.
- Line a cookie sheet with parchment paper or wax paper, set aside.
- Place about ¾ of the white chocolate chips in a microwave-safe bowl. Add the vegetable oil. Melt the white chocolate chips in the microwave in 30-second increments. Stir the chocolate with a spatula or wooden spoon between each blast. It should be melted and glossy.
- Spoon the melted white chocolate over the Nutter Butter cookies or dip one side in the chocolate. Cover one side of each cookie completely. And then, repeat with the remaining cookies.
- Place on parchment paper and allow to harden completely.
- Add the candy eyes while the chocolate is still wet. Allow the white chocolate to harden.
- Melt the remaining chocolate. And then, spoon it into a piping bag. Snip off the tip. Drizzle the melted chocolate back and forth over the cookies to make a mummy wrap. How fun is that?!!
- Allow the chocolate to harden on each coated cookie before stacking.
- Store in an airtight container at room temperature until ready to serve.
Essential tools for this recipe
The following are affiliate links. We participate in the Amazon Services LLC Associates Program, an affiliate advertising program designed to provide a means for us to earn fees by linking to Amazon.com and affiliated sites.
Don't forget to check out my Amazon storefront for some of my favorite products! 🛍️
Frequently asked questions (FAQ’s)
For these mummies to have the best look you will need an oblong cookie. So, you can use any cookie like Biscoff or Milano cookies. Store-brand crunchy peanut butter cookies would work just fine!
I don't recommend that you freeze these cookies because the eyeballs will most likely lose their color and make a mess when thawed.
To get a smooth candy coating, dip one side at a time, and hold it in the air to allow the excess chocolate to drip. Then, lay it on the parchment paper with the wet side up. Once that side completely hardens then dip the other side.
Tips for the perfect mummy cookie
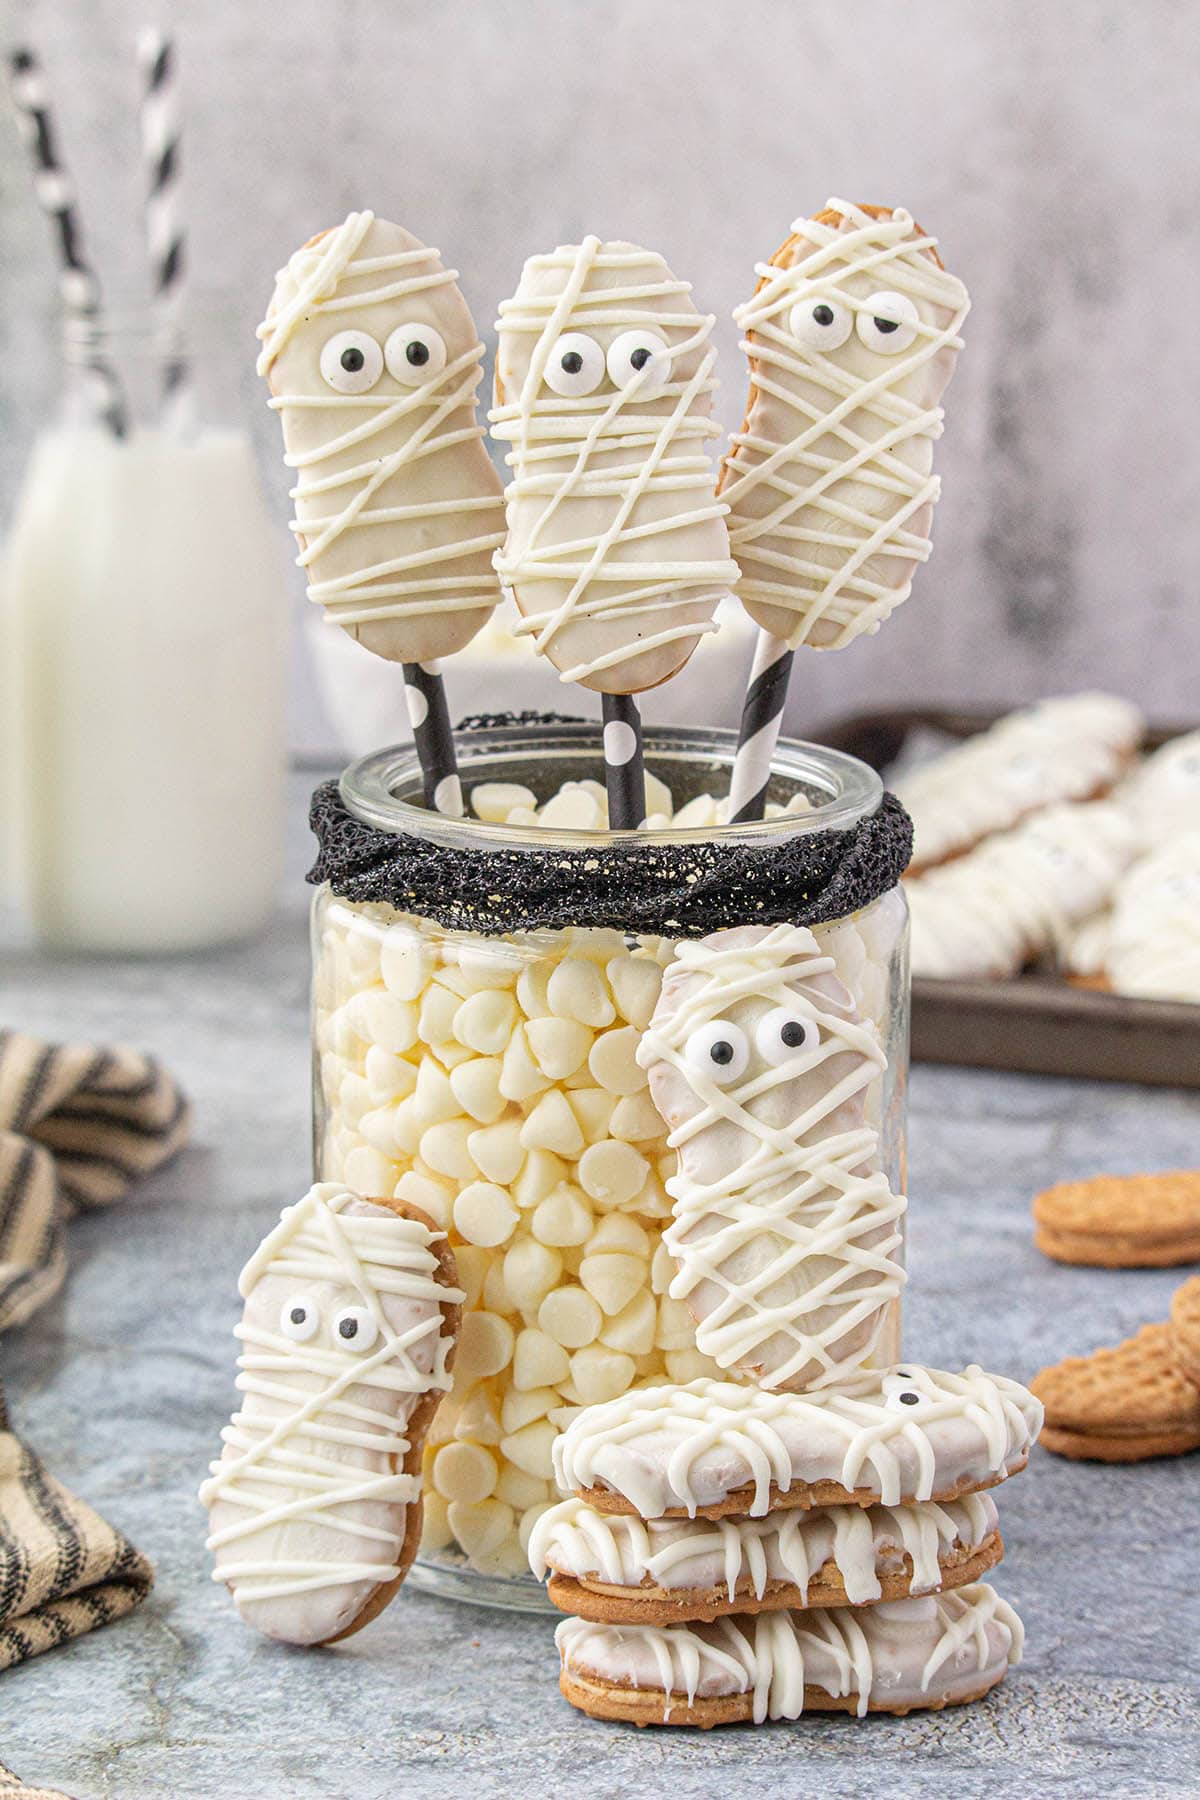
When you are adding the final chocolate drizzle to the top of each cookie, go in a zig-zag pattern across the cookies to give them that spooky mummy look.
- When microwaving the chocolate to melt it, be sure that you stir it between each 30-second intervals. Once it's completely smooth stop heating it so it doesn't scorch.
- Don't have a piping bag? No problem! You can use a pastry bag or even a Ziploc bag and snip the corner off the bag for a makeshift piping bag.
How to store mummy cookies
Storage - Store the cookies in an airtight container at room temperature for up to one week. If you are stacking these cookies, make sure that you allow them to dry completely before you stack them. I like to use wax paper between the layers.
Do not freeze or refrigerate the cookies as the candy eyeballs will bleed.
More fun Halloween recipes
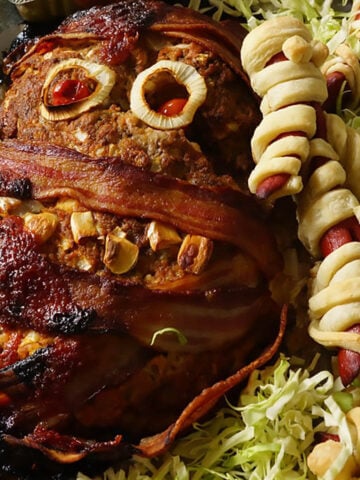
- Halloween Hotdog Fingers are an easy Halloween snack that your kids will love. They are great after school or for a quick meal before you head out of trick or treating.
- These Frankestian Rice Krispies Treats are a delicious no-bake treat that will look great on your Halloween party dessert table!
- Halloween Stuffed Peppers are a simple recipe to make when you need something filling before you indulge in all that Halloween candy!
- Are you looking for a hearty yet festive main course to serve with these fun cookies? If so, check out these Halloween Pot Pies, they are slightly spooky yet taste amazing.
- I don't know about you, but we love to indulge in a festive cocktail while we watch the trick-or-treats go door to door. You are bound to find a cocktail that is perfect for gathering in these Boozy Halloween Cocktails.
Hey, if you want to catch all my videos, be sure to subscribe to my YouTube Channel. You'll be notified each time I share a new video!
If you love this recipe, please leave a ⭐⭐⭐⭐⭐ rating!

Nutter Butter Mummy Cookies Recipe
Equipment
- sheet pan
- Large mixing bowl
Ingredients
- 12 Nutter Butter cookies
- 24 ounces package white chocolate chips
- 1 tablespoon vegetable oil
- 24 candy eyes I used Wilton candy eyes
Instructions
- Line a cookie sheet with parchment paper, set aside.
- Place about ¾ of the white chocolate chips in a microwave-safe bowl. Add the vegetable oil. Melt the white chocolate chips in the microwave in 30-second increments. Stir the chocolate with a spatula or wooden spoon between each blast. It should be melted and glossy.
- Spoon the melted white chocolate over the Nutter Butter cookies or dip one side in the chocolate. Cover one side of each cookie completely. Repeat with the remaining cookies.
- Place on parchment paper and allow to harden completely.
- Add the candy eyes while the chocolate is still wet. Allow the white chocolate to harden.
- Melt the remaining chocolate. Spoon it into a piping bag. Snip off the tip. Drizzle the melted chocolate back and forth over the cookies so they look like little mummies.
- Allow the chocolate to harden again before stacking.
- Store in an airtight container at room temperature until ready to serve.
- ** Do not place them in the refrigerator; the candy eyes will bleed!



Leave a Reply