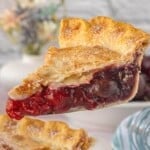
This Cherry Pie Recipe uses both canned cherries and frozen pitted cherries, so you get the ease and that fresh, slightly tart pop that makes people close their eyes on the first bite. It tastes homemade (because it is), but nobody needs to know how simple it was to pull together!

Jump to:
What makes this recipe irresistible
There's something about cherry pie that feels like it belongs on a lace doily at Grandma's house… but let's be honest, we're not pitting five pounds of cherries on a Tuesday afternoon. I love the shortcut of canned filling, but sometimes it tastes a little one-note. That's when the freezer comes to the rescue!
Using two kinds of cherries gives this pie depth and texture that you just don't get from a single can. The canned filling brings sweetness and structure, while the frozen cherries add real fruit flavor and a little bite. The balance keeps it from being overly sweet and makes every slice taste like you actually fussed over it… even if you didn't!
Cherry Pie with Canned Cherries
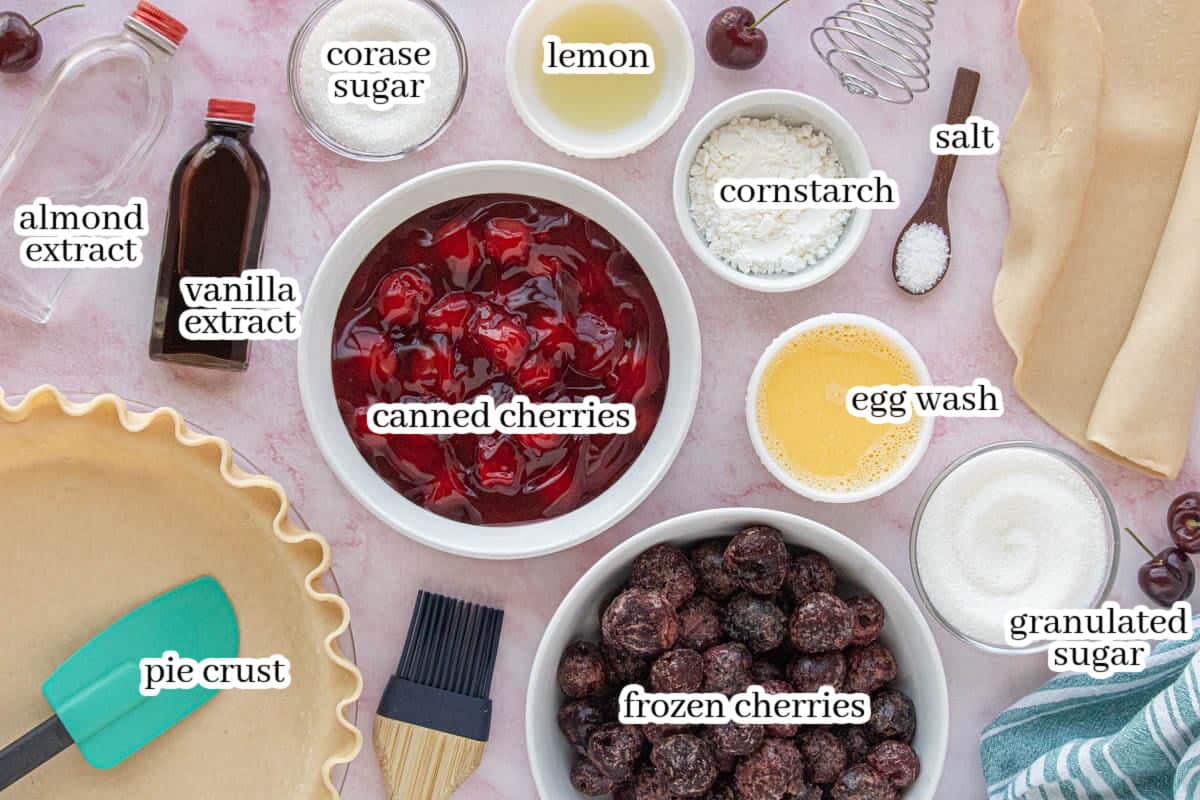
Ingredients
- 1 can 21 ounces cherry pie filling
- 2 cups frozen pitted cherries don't thaw
- ¼ cup granulated sugar adjust depending on tartness of frozen cherries
- 2 tablespoons cornstarch
- 1 teaspoon vanilla extract
- ½ teaspoon almond extract optional, but adds magic
- 1 tablespoon lemon juice
- Pinch of salt
- 2 prepared pie crusts store-bought or homemade
- 1 tablespoon butter cut into small pieces
- 1 egg beaten with 1 tablespoon water (for brushing the top crust)
- Coarse sugar for sprinkling
Instructions
- Preheat oven to 400°F.
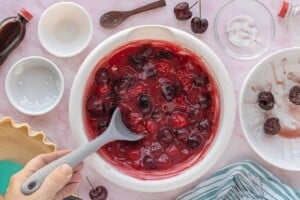
- In a large mixing bowl, stir together the canned pie filling and frozen cherries.

- Add sugar, cornstarch, vanilla, almond extract, lemon juice, and salt. Mix gently until the cherries are coated - it'll look glossy and gorgeous.
- Roll out one pie crust and place it in a 9-inch pie plate. Pour in the cherry mixture and dot with butter.
- Top with the second crust (or make a lattice if you're feeling fancy). Trim and crimp the edges to seal. Brush the top with the egg wash and sprinkle with coarse sugar.
- Place the pie on a foil-lined baking sheet (to catch juicy overflow) and bake for 20 minutes at 400°F.
- Lower the heat to 350°F and bake another 35-40 minutes, until the crust is golden brown and the filling is bubbling through. Keep an eye on the crust, cover with foil if it's getting too brown.
- Cool at least 3 hours before slicing - it needs time to set up. (I know, the waiting is the hardest part.)


Notes
- Unbaked: Assemble the pie, wrap tightly, and freeze. Bake straight from frozen, adding about 15-20 extra minutes. Tent with foil if the crust is getting too brown.
- Baked: Cool completely, wrap well, and freeze up to 3 months. Thaw overnight in the refrigerator and warm slightly in the oven before serving.
Love this recipe? Join the free membership group!
Ingredients
Please refer to the printable recipe card for the exact measurements for this recipe.
Frequently asked questions (FAQ's)
Yes, but you'll need to adjust the sugar and thickener. If skipping the canned filling, use about 5-6 cups frozen cherries, increase the sugar to ¾-1 cup (depending on sweetness), and use 3-4 tablespoons cornstarch. The canned filling adds sweetness and structure, so removing it means you'll build that from scratch.
Nope. Use them straight from the freezer. They'll release juice as the pie bakes, and the cornstarch will thicken everything beautifully.
If you followed the recipe, it shouldn't be. BUT if your pie is runny, here is a couple reasons. It didn't bake long enough for the filling to fully bubble and activate the cornstarch, or it wasn't cooled long enough before slicing.
A few helpful tips
- If the crust starts browning too quickly, loosely tent it with foil.
- And if you love a little tang, add an extra squeeze of lemon juice. It will brighten everything up!

Related recipes
If you love this cherry pie, you'll want to try a few more fruit-forward favorites. My Apple Pie with Cranberries brings that cozy apple flavor with a bright pop of tart berries. It's a fun twist on a classic and especially pretty on a holiday table.
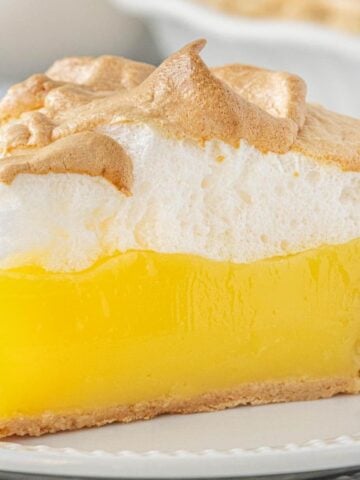
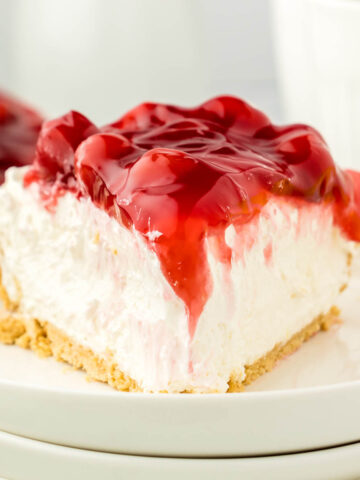
Rhubarb Cream Pie is another reader favorite, with its sweet-tart filling tucked into a flaky crust and topped with a silky custard layer. And if you're in the mood for something easier (no oven required), the Philadelphia No-Bake Cheesecake delivers creamy, dreamy goodness with that glossy cherry finish everyone reaches for first!
Wrapping it up
Cherry Pie with canned and frozen cherries holds its own all by itself. However...if you want to take it over the top, add a scoop of vanilla ice cream and let it melt into those warm cherries. A dollop of whipped cream works beautifully, or serve it slightly chilled for a firmer slice that cuts clean and pretty. It's just as welcome at a summer barbecue as it is on a holiday dessert table.
This is the kind of pie that feels classic but smart. Simple ingredients, big payoff, and zero cherry-pitting marathons. If you make it, let me know how it turns out! Did you go lattice or full crust? Ice cream or whipped cream? Tell me in the comments - I love hearing how you make these recipes your own!

Leave a Reply